How to fail at STM32L433RC board with Embassy Rust embedded framework
—
- list of my failure modes
- not knowing where to begin with rust embedded
- dropping the framework midway and jumping to another
- not looking at the examples in the framework
- not knowing what to do with the board
- unable to figure out the "algorithms"
- not knowing what the value of sensor mean?
- not putting the correct board "feature" in cargo.toml
- conclusion
This blog post is about failures that ate two days of my time with STM32L433RC board with Rust. I gave up many times and still not entirely back from the land of given ups.
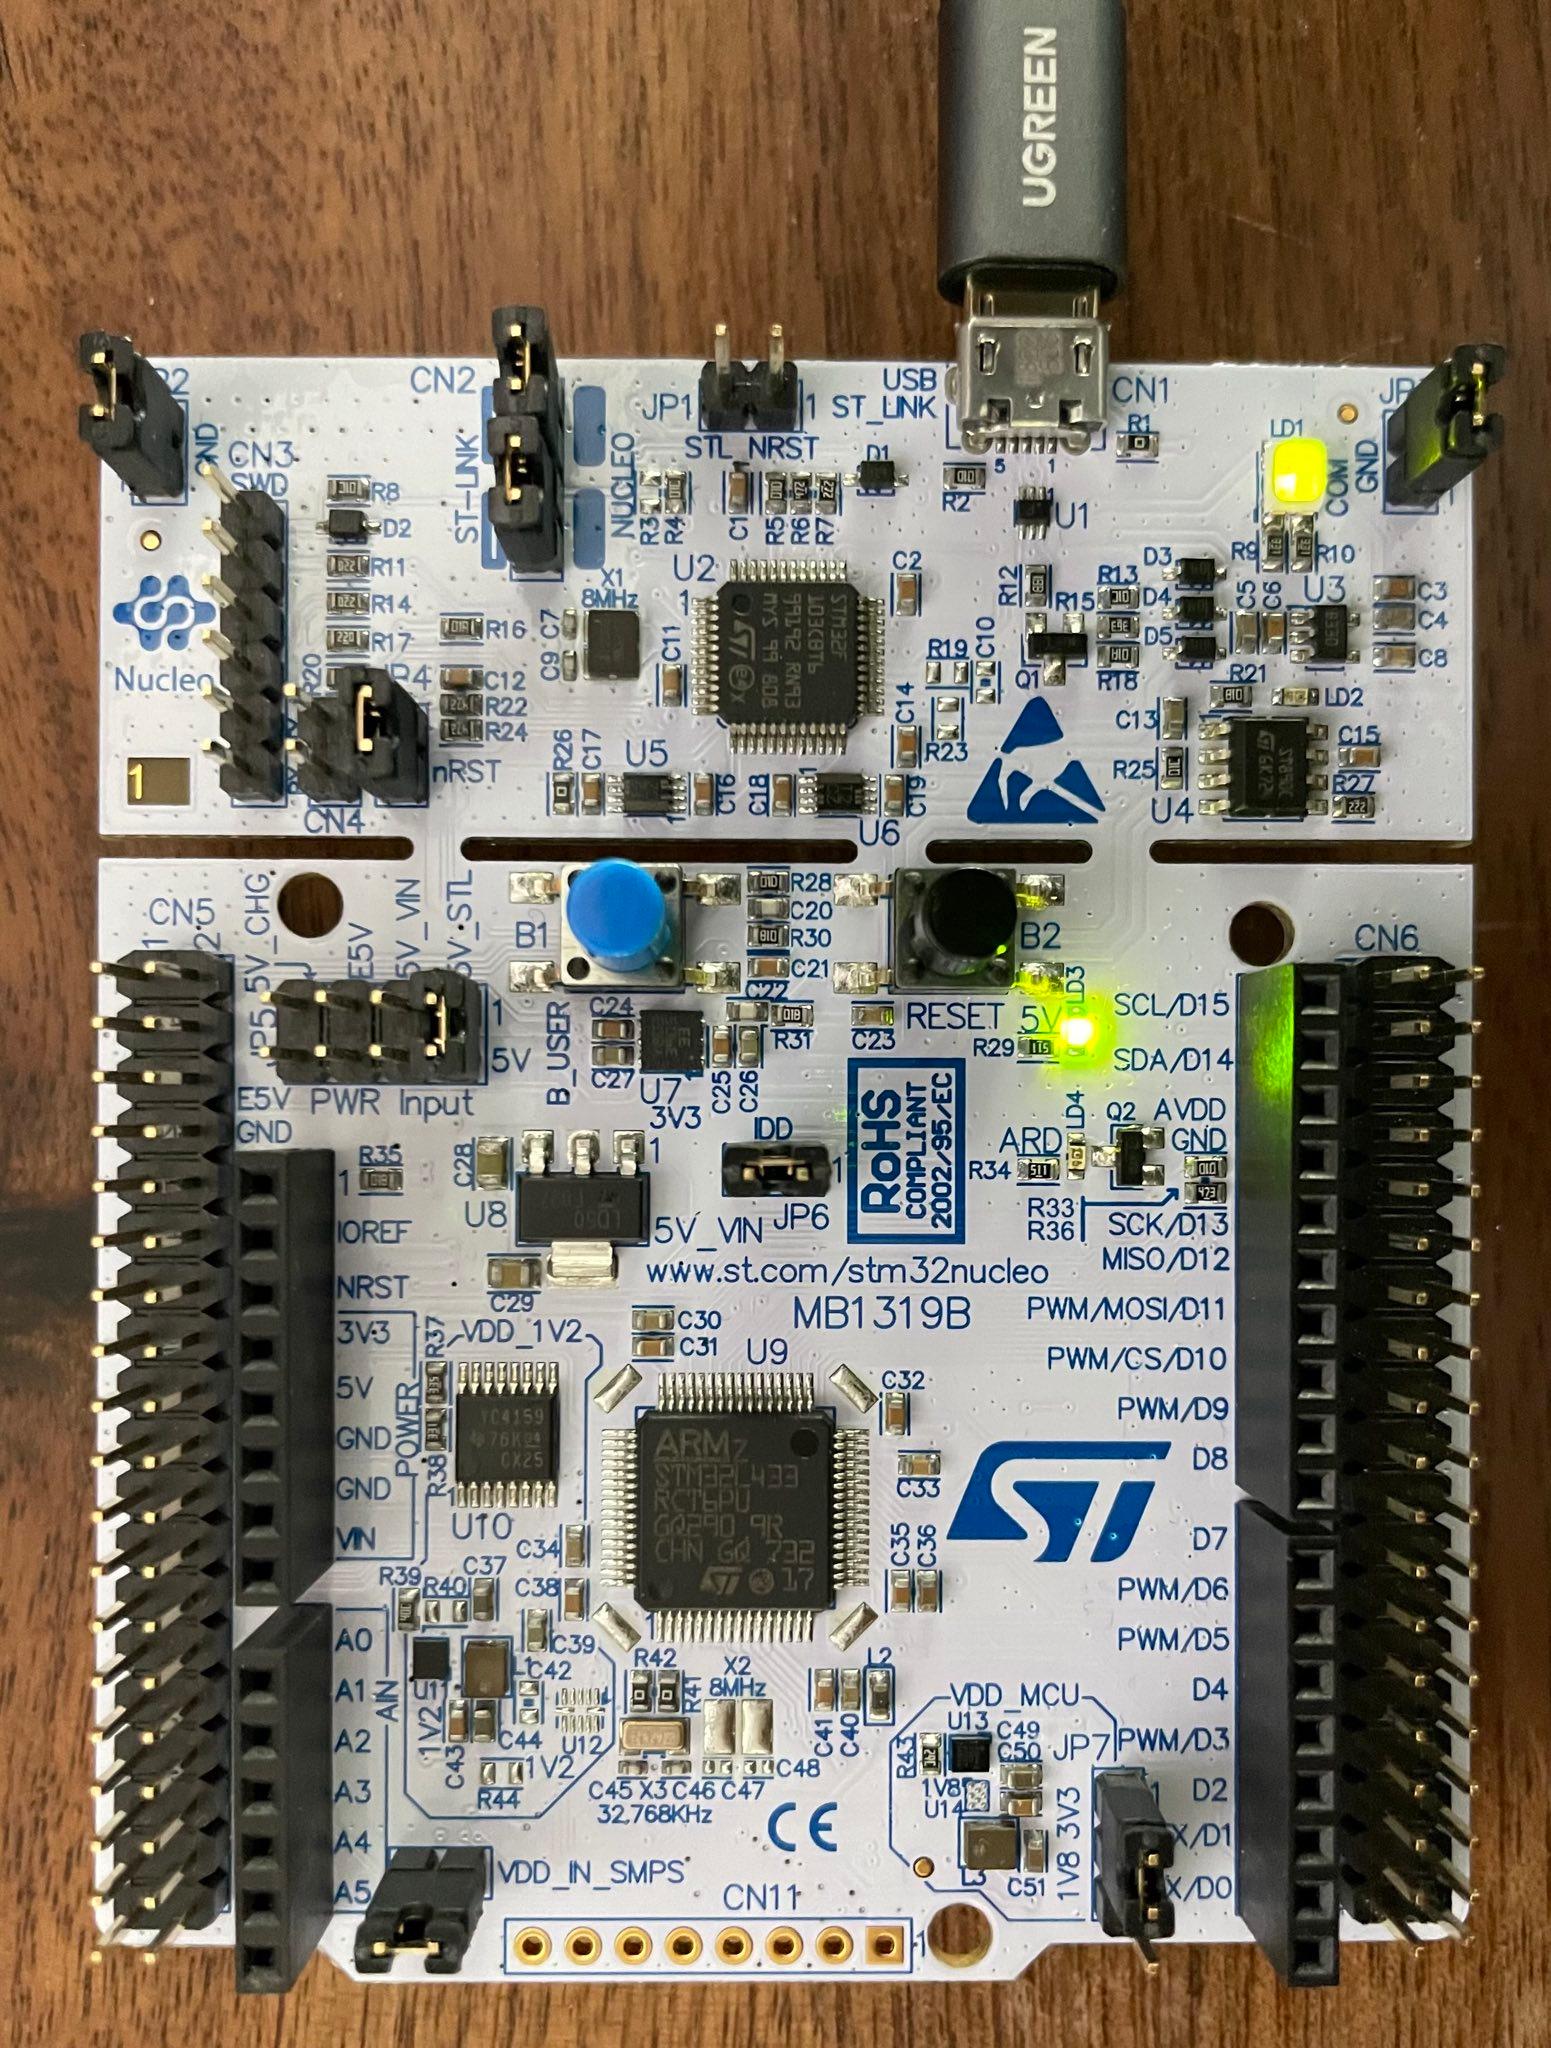
The story starts when I got this beautiful board to try out some Rust. I am still learning embedded systems so even though I know some Rust, I struggle with the hardware part. Datasheets for the hardware I use are really cool to read but they are hard for me to translate to Rust many times.
Before we go further -
List of my failure modes
Not knowing where to begin with Rust embedded
This is a classic! That is, when I am excited about tinkering with hardware and no clue where to begin. There are a ton of frameworks! Friends' and experts' suggestion point to the latest Rust frameworks and libraries and sometimes it gets daunting. I was pointed to Embassy. The cool part about this framework is that it is ground up support for Rust's async/await in embedded world. This async/await style of programming allows for better resource allocation when there are IO blocking and wait times.
Anyway, Embassy docs explain about what is async/await here.
Dropping the framework midway and jumping to another
I made this another classic mistake. I went down rabbit holes and lost track of how many projects I had created.
Not looking at the examples in the framework
Yes, I am told the best of the best also first head to the example directory to see how things are. The only downside is that as a beginner, I do not have any prior knowledge to build upon. Most embedded programmers can look at a new framework but they have a reference from prior experience with other frameworks etc. I did not even remember to look at examples in at first.
Anyway, Embassy has some nice example programs for my board here.
Not knowing what to do with the board
I have no idea what I want to with the hardware but I like blinking lights. That's where I start and perhaps most others too. I am told that blinking lights are the println!("Hello, world!") of the embedded world. So, I did that.
Anyway, I have now started to see that some of these boards have some sensors on them. For example, I see that there is a temperature sensor on this board I am working with.
Unable to figure out the "algorithms"
Ok, I may have used the incorrect word here but by algorithms I mean correct steps to do a certain task. For example, my task of reading the temperature sensor value continuously and print on the console. Some of the examples of the things I had no clue about are -
How does "pushing" a program I am writing on my PC, to the board work?
This is called Flashing. The amazing thing with Rust embedded work is that you do not have to worry too much about it because cargo takes care of most of it. Often you just need a file .cargo/config.toml in your project root with some content like this -
[target.'cfg(all(target_arch = "arm", target_os = "none"))']
# replace the chip below with your chip
#  as listed in `probe-run --list-chips`
runner = "probe-run --chip STM32L433RCTxP"

[build]
target = "thumbv7em-none-eabi"

[env]
DEFMT_LOG = "trace"
Here the target is the architecture. Using rustup works like rustup target add thumbv7em-none-eabi to add this target on your PC.
How to make sure we tell Rust the right environment?
This is trickier because for STM32 boards at least you need a special file called memory.x and you may have to do some magic to put it in the right place during the build phase of your project. I failed at this miserably but datasheet of your board can tell you the values you need to specify.
MEMORY
{
  /* NOTE 1 K = 1 KiBi = 1024 bytes */
  /* These values correspond to the STM32L433 */
  FLASH : ORIGIN = 0x08000000, LENGTH = 256K
  RAM : ORIGIN = 0x20000000, LENGTH = 64K
}
This is to tell Rust the memory regions on your board. Rust embedded book has a page to clarify more on this memory.x stuff.
What are the peripherals and how do we access them?
To know your peripherals you need to look at the datasheet. How to access them via Rust depends on your framework but with Embassy it looks like this -
let p = embassy_stm32::init(Default::default());Not knowing what the value of sensor mean?
In my case the temperature sensor just spits out a number that Embassy framework's API serves as u16 (if I understand any of this, that is the voltage). Usually, you have to pass it through some formula to get the actual temperature. Datasheet for this board has the following -
Temperature (in °C) = (TS_CAL2_TEMP – TS_CAL1_TEMP) / (TS_CAL2 – TS_CAL1) × (TS_DATA – TS_CAL1) + 30
Where:
TS_CAL2is the temperature sensor calibration value acquired atTS_CAL2_TEMP.TS_CAL1is the temperature sensor calibration value acquired atTS_CAL1_TEMP.TS_DATAis the actual temperature sensor output value converted by ADC. Refer to the device datasheet for more information aboutTS_CAL1andTS_CAL2calibration points.
I do get some cool output LOL!
cargo run --bin temp
    Finished dev [unoptimized + debuginfo] target(s) in 0.07s
     Running `probe-run --chip STM32L433RCTxP target/thumbv7em-none-eabi/debug/temp`
(HOST) INFO  flashing program (60 pages / 60.00 KiB)
(HOST) INFO  success!
────────────────────────────────────────────────────────────────────────────────
0.001861 internal is 64
└─ temp::____embassy_main_task::{async_fn#0} @ src/bin/temp.rs:33
0.005584 Temperature is: 57.070312
└─ temp::____embassy_main_task::{async_fn#0} @ src/bin/temp.rs:41
0.010131 Temperature is: 51.26953
└─ temp::____embassy_main_task::{async_fn#0} @ src/bin/temp.rs:41
0.014678 Temperature is: 46.757812
└─ temp::____embassy_main_task::{async_fn#0} @ src/bin/temp.rs:41
0.019226 Temperature is: 44.179688
└─ temp::____embassy_main_task::{async_fn#0} @ src/bin/temp.rs:41
...
Not putting the correct board "feature" in Cargo.toml
Yes, when you include embassy-stm32 in your Cargo.toml dependencies, you need to specify the correct board ID. In my case it was stm32l433rc. See my Cargo.toml for details.
Conclusion
I have failed but this was so much fun! I will continue playing.